

The situation: “A laptop is missing” is an incident, not a help‑desk ticket
Why this needs a drill
A lost or stolen company laptop in NYC is common enough that teams get numb to it. The risk isn’t only the hardware—it’s the identity/session trail (tokens, remembered sign-ins, cached mail) and your ability to prove what was protected and what you did.
What “done” looks like in 45 minutes
Containment means you can answer, with timestamps: who reported it, which device is affected, whether disk encryption was in place, what you did to the user’s sessions and access, what Intune action you executed (and why), and what evidence you saved for leadership, insurers, and clients.
Before you start: two rules that prevent bad outcomes
Rule 1: Don’t wait for certainty
If a laptop is “probably in an Uber,” act as if it’s stolen until it’s back in your hands. You can always restore access later; you can’t un‑leak data from a valid session.
Rule 2: Evidence is part of containment
If you do the right technical steps but can’t show what happened, you’ll struggle with cyber insurance reporting, client security questionnaires, and internal post‑incident reviews. Build evidence collection into the drill from minute 1.
Inputs you need in the first 5 minutes (so you don’t chase the wrong device)
Minimum facts to collect
Get these items while you still have the user on the phone or in chat:
- User principal name (UPN) and phone number for call-back
- Device name as shown in Company Portal/Windows Settings (if known)
- Approximate last known location/time and whether it’s likely recoverable
- Whether the device was on (sleep/hibernation) and whether it had cellular/hotspot access
- Whether any sensitive client data was stored locally or synced (OneDrive/SharePoint/Teams)
Identify the exact device record
In Microsoft Intune, many orgs have multiple devices per user (old laptops, test machines). Confirm you’re acting on the correct device by matching at least two identifiers:
- Device name
- Serial number (preferred)
- Azure AD/Entra device ID or Intune device ID

The 45‑minute containment drill (what to do, in order)
Microsoft’s Intune wipe documentation is the reference for supported options and their effects. Confirm the target device and authorization, and distinguish a submitted command from verified completion.
Step 1: Contain identity and sessions (Minutes 0–15)
Cut off current sessions and token reuse
Start with the account because that’s what attackers can use immediately. In Microsoft 365/Entra, perform the actions your policy allows, in this order:
- Revoke sign-in sessions (forces reauthentication across Microsoft 365 apps)
- Reset the user’s password (or require a password change at next sign-in)
- Revoke MFA/registered authentication methods if you suspect the phone is also lost
- Disable the account temporarily if the scenario is high risk (executive device, privileged role, known theft)
Reduce blast radius for privileged roles
If the user has admin roles or elevated access, treat this as priority one:
- Remove or suspend admin role assignments (temporary)
- Invalidate any privileged access sessions (where applicable)
- Ensure Conditional Access blocks legacy auth and requires compliant device for sensitive apps
Confirm recent sign-in activity for quick triage
Check sign-in logs for unusual geography, impossible travel, or unfamiliar device/app combinations. Don’t over-investigate here—your goal in the first 15 minutes is to prevent continued access.
Step 2: Choose the correct Intune action (Minutes 10–30)
Understand what wipe, retire, and delete mean operationally
Intune actions are often described as buttons; for incident response you need to know what “success” means.
- Wipe: Attempts to reset the device and remove data. Best when the device is corporate-owned and you want to protect data on disk. Success depends on the device checking in.
- Retire: Removes company data and management profile where supported, but is less destructive than wipe. Best for BYOD scenarios or when you intend to allow personal use.
- Delete: Removes the device record from Intune (management database). This does not remove data from the device; it removes your ability to manage it going forward.
Decision guide (fast)
Use this to pick the action without debate:
- Corporate-owned and likely stolen → Wipe (and keep the record until you see status)
- Corporate-owned but likely recoverable soon → Consider lock/lost mode (if supported) and prepare for wipe if not returned by a deadline
- Personally-owned (BYOD) or privacy-sensitive context → Retire (remove corporate access/data) + identity containment
- Device is decommissioned/duplicate record → Delete only after the incident is closed and evidence is captured
Execute the device action and record it
From Intune, run the chosen action against the confirmed device record. Immediately capture:
- Device identifiers (serial, device ID)
- Action selected (wipe/retire)
- Time initiated
- Any confirmation dialog text (screenshot)
Step 3: Prove encryption posture and reduce data-at-rest risk (Minutes 20–40)
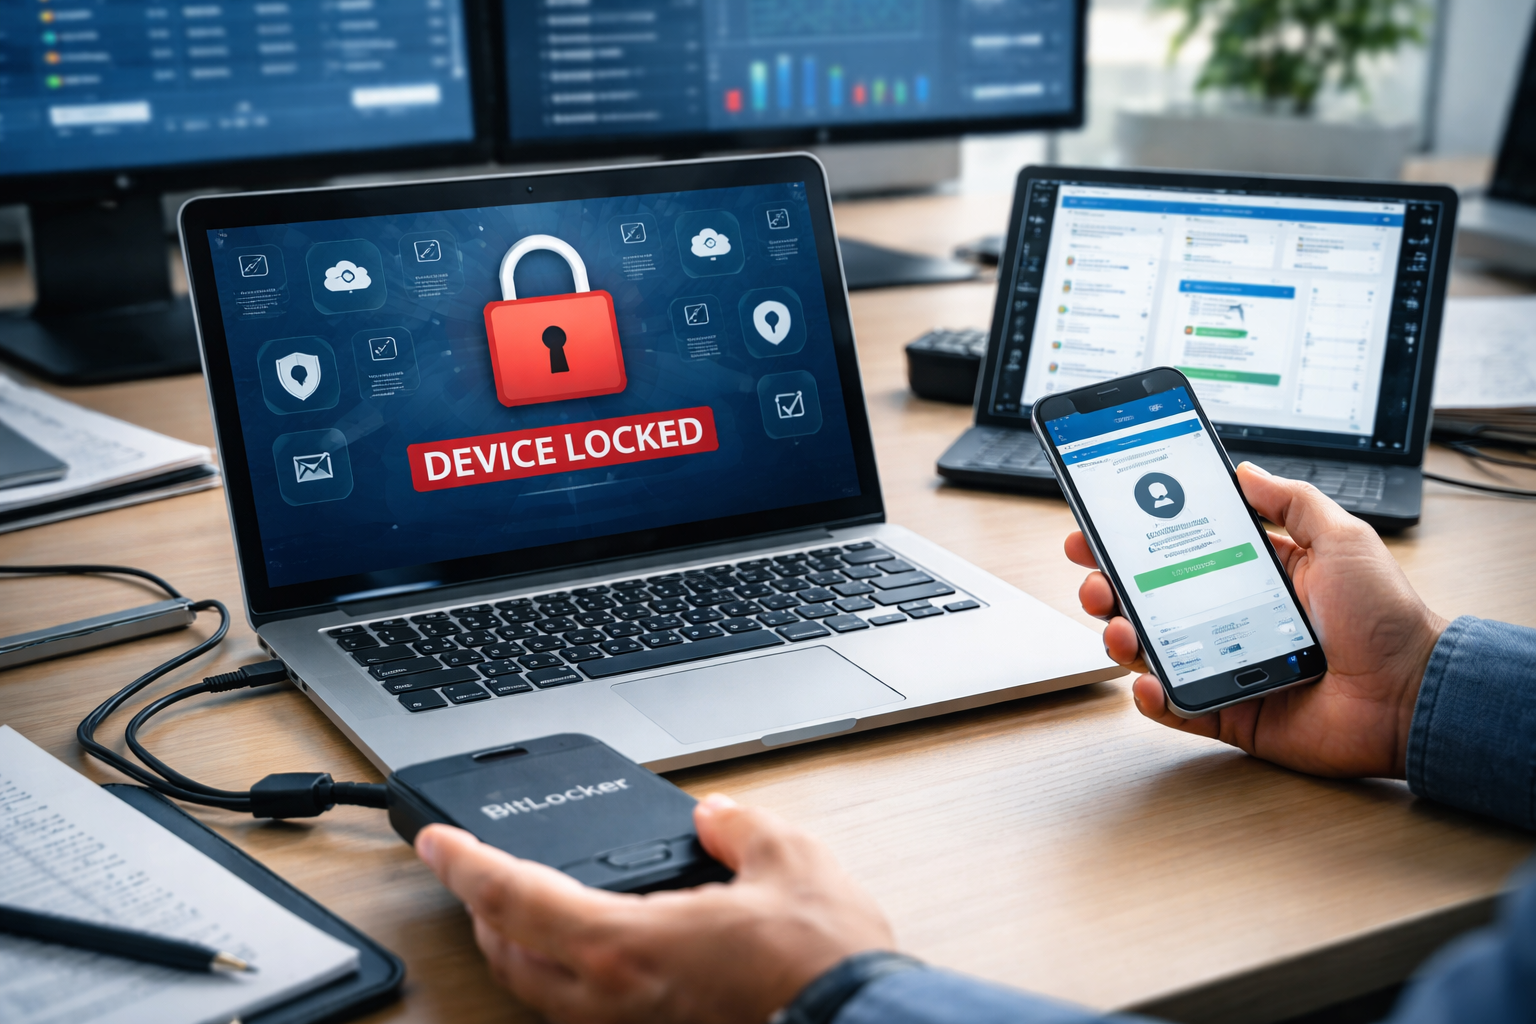
Confirm BitLocker or platform encryption status
Leadership and insurers will ask: “Was the drive encrypted?” Your job is to produce evidence, not assumptions.
Depending on your configuration, validate encryption using one or more sources:
- Intune device properties showing encryption/compliance state
- Compliance policy evaluation indicating encryption is required and met
- BitLocker recovery key presence in Entra ID/Intune (evidence that BitLocker was enabled and escrowed)
Capture “proof” artifacts without over-collecting
Aim for lightweight, defensible screenshots/exports:
- Screenshot of device compliance state showing encryption met (where visible)
- Screenshot/export showing BitLocker recovery key exists for the device (do not paste the key into tickets emailed broadly)
- Screenshot of relevant compliance policy requirement (encryption required)
If encryption cannot be confirmed quickly
If you can’t confirm encryption within the drill window, document that explicitly and escalate severity. Continue identity containment and consider a broader response (client notifications may depend on contractual terms).
Build the evidence pack (Minutes 35–45)
What goes into a “good enough” incident packet
This is not a legal brief. It’s a structured set of artifacts that answers the repeat questions: who/what/when/so what/what did you do.
Keep evidence defensible and privacy-aware
Store the packet in a restricted location (security/IT only). Don’t include unnecessary personal data; insurers and clients want evidence of controls and response, not a full employee dossier.
What to tell leadership and clients (without overpromising)
A clean status update template
Use a short, factual update that matches what you can prove:
- Device reported missing at [time]; device identifiers confirmed
- Identity containment completed at [time] (sessions revoked, password reset, account disabled if applicable)
- Device action initiated via Intune at [time] (wipe/retire) and current status (pending/complete)
- Encryption posture: confirmed [encrypted/compliant] with evidence captured (or “not confirmed yet; escalation in progress”)
- Next checkpoint time: when you’ll update again (e.g., 2 hours)
Avoid absolutes
Even with encryption, don’t state “no risk” unless your counsel/security team has a defined standard for that. Stick to what you have evidence for: encryption status, identity containment, and monitoring.
Pre-stage this drill so it’s easier the next time
Review Microsoft’s emergency access-revocation guidance while preparing the runbook. Account revocation and application-session termination can have different timing and dependencies.
Assign roles and access before the incident
If only one person can revoke sessions or run Intune wipes, containment stalls. Ensure at least two staff members have the right roles (least privilege) and know where to find device identifiers.
Standardize naming and inventory hygiene
Consistent device naming and a clean asset inventory reduces “wrong device” errors. Make serial number collection mandatory at onboarding and confirm it matches Intune.
Define your “recovery likelihood” deadline
Create an internal rule: for example, if a corporate laptop isn’t recovered within X hours, you initiate wipe. This prevents debate while the device remains online.

Key Takeaways
- Handle laptop loss as an incident with evidence requirements, not just “wipe and reset passwords.”
- Prioritize identity/session containment first; device actions may not apply until the laptop checks in.
- Choose Intune actions deliberately: wipe for corporate theft, retire for BYOD, delete only after closure.
- Capture encryption/BitLocker proof and a concise evidence pack for insurers and client questionnaires.
Frequently Asked Questions
Should I wipe first or revoke sessions first?
Revoke sessions first in most cases because it reduces cloud-access risk immediately. Start the wipe in parallel once you’ve confirmed the correct device record.
What’s the difference between Intune “wipe” and “delete”?
Wipe attempts to remove data from the device (once it checks in). Delete removes the device record from Intune and does not remove data from the physical device.
If BitLocker is enabled, do we still need to do all this?
Yes. BitLocker reduces data-at-rest risk, but it doesn’t stop access via valid tokens, cached sessions, or cloud sign-ins from another device.
How do I prove encryption to insurance or a client?
Provide screenshots/exports showing the device’s compliance/encryption status and evidence that a BitLocker recovery key was escrowed for that device, plus the policy requiring encryption.
What if the laptop is found after we initiate a wipe?
Treat it as untrusted until IT validates custody and device state. Plan for re-enrollment/reimaging and a short post-incident review to confirm no suspicious sign-ins occurred.
Take the Next Step
If you want this drill turned into a one-page runbook your team can execute consistently—complete with role assignments, Intune/Entra click-paths, and an evidence-pack template—Your Expert Tech can help you standardize it for your environment.
Reply to your internal IT owner or contact Your Expert Tech to schedule a practical incident-readiness review focused on device loss/theft containment and documentation in Microsoft 365/Intune.