

Plan the return-to-work handoff before closing the service request. The employee, office coordinator, and authorized administrator may each need to confirm a different part of the result.
Keep the service reference available and record any limitation that remains. If the original fault was intermittent, distinguish a successful test from confirmation that it will not recur.
1. Review the repair record
Ask what was diagnosed, what work was completed, and whether any parts, software, storage, or settings changed. Record unresolved findings and the route for reporting the same symptom again.
For Mac repairs, Apple’s service preparation guidance helps identify the backup and service arrangements to reconcile with the repair record. Apply the guidance relevant to the device and the work performed.
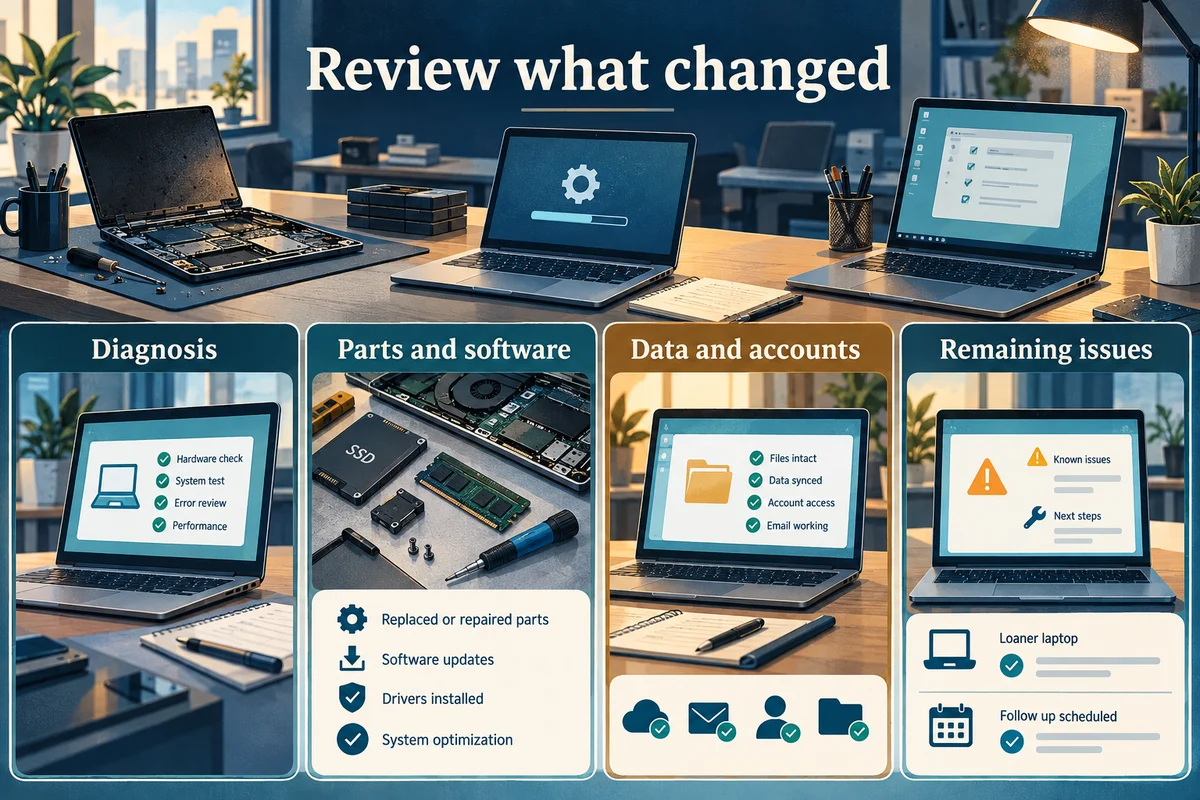
| Repair detail | What to clarify | Who should confirm |
|---|---|---|
| Original fault | What was found and how it was tested | Repair provider |
| Work completed | Parts, software, and configuration changes | Repair provider |
| Data implications | Whether files or storage were affected | Provider and authorized user |
| Remaining limits | Untested functions or outstanding work | Provider and business contact |
| Follow-up | Service reference and recurrence process | Office coordinator |
Keep any service terms with the record. Do not assume every accessory or application was available to the person doing the repair.
2. Reconnect the normal workstation
Use the normal charger, dock, monitor, keyboard, network, and other relevant equipment. Have the employee sign in through the approved business process and repeat the task that originally failed.
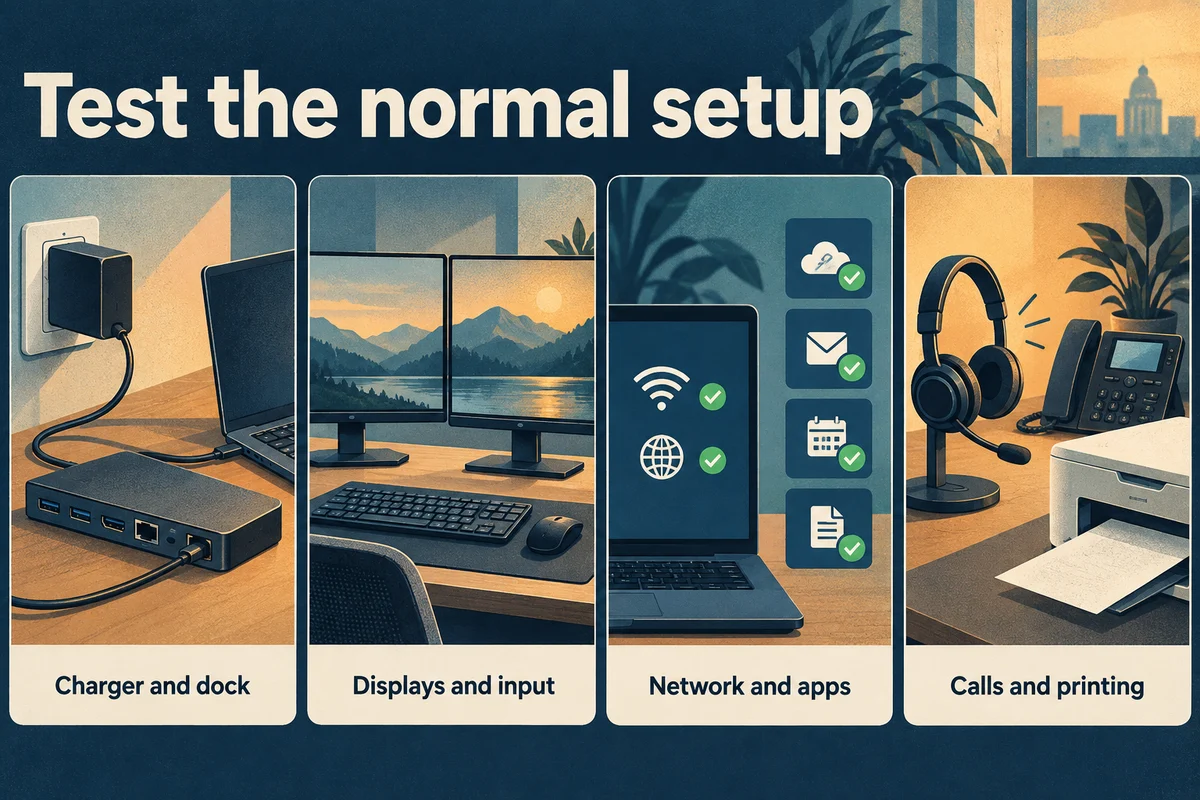
Try the same conditions where practical. If the fault occurred during a call with an external display attached, a short test on the laptop alone may not cover it.
Record the result and the equipment used. If a test fails, note the exact symptom so support can distinguish a continuing fault from a different issue.
3. Confirm files, access, and protection
Have the authorized user confirm that important working files are present and current. Check approved business storage or synchronization as appropriate; seeing a file name alone does not establish that its contents are the expected version.
For Windows devices using BitLocker, the authorized administrator can consult Microsoft’s recovery-key backup guidance when checking the recovery arrangement. Keep the key in the approved system, separate from general handoff notes.
Ask the administrator to confirm that required management and protection tools are reporting as expected. Do not collect recovery keys or credentials in the general repair notes.
If files were edited on a loaner, establish which copies are current before moving work back. Escalate uncertainty instead of overwriting a version merely because it is on the repaired device.
4. Close the handoff and update the asset record
Record the tests, remaining limitations, and the next support contact. Update relevant device information after parts or configuration changes.
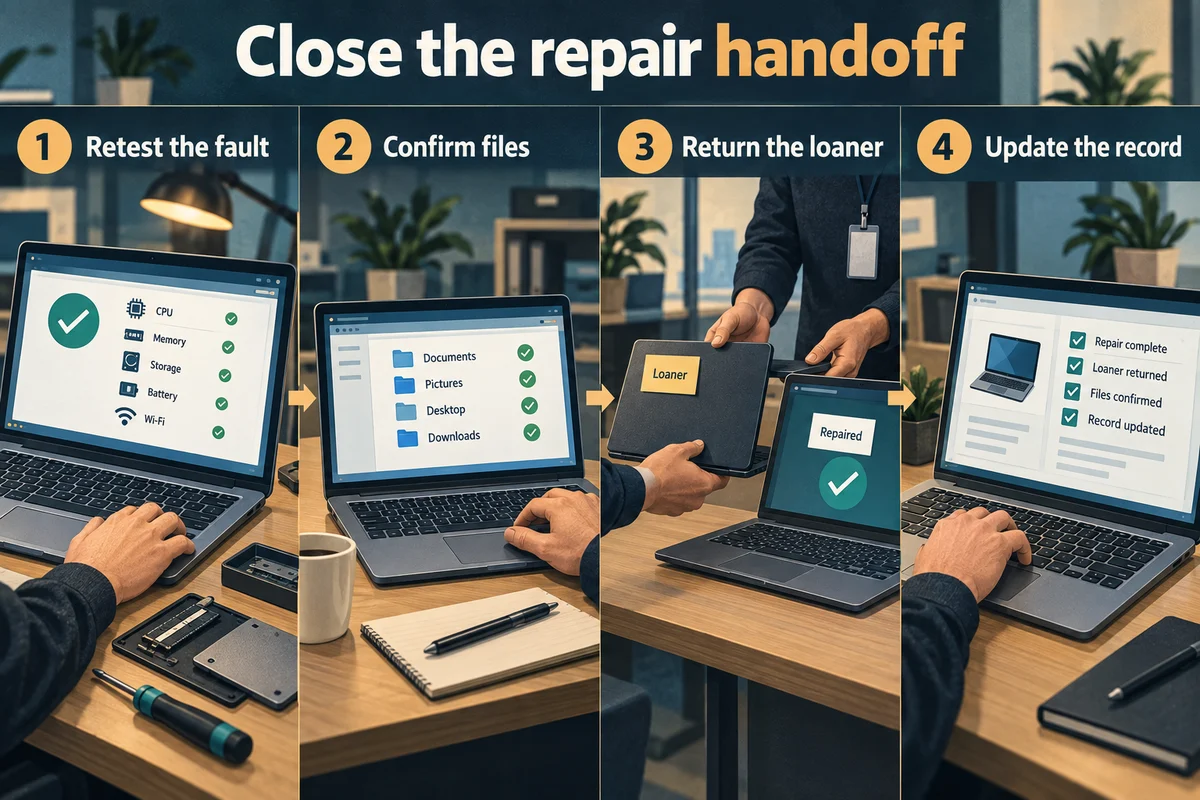
For a recurring symptom, agree how long to observe it and what evidence to collect if it returns. Keep the service reference attached to the follow-up.
Use the pre-repair checklist before the next appointment. If the problem persists, contact support with the service reference and the exact test that failed.