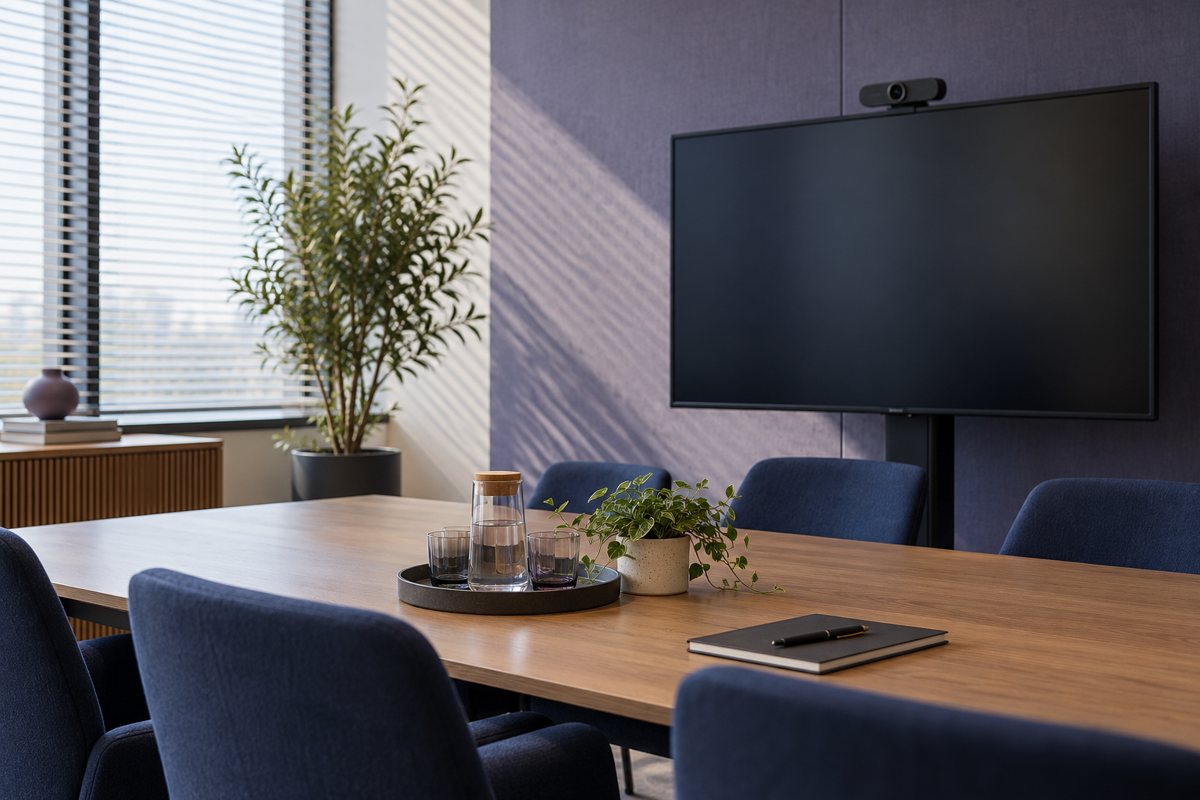
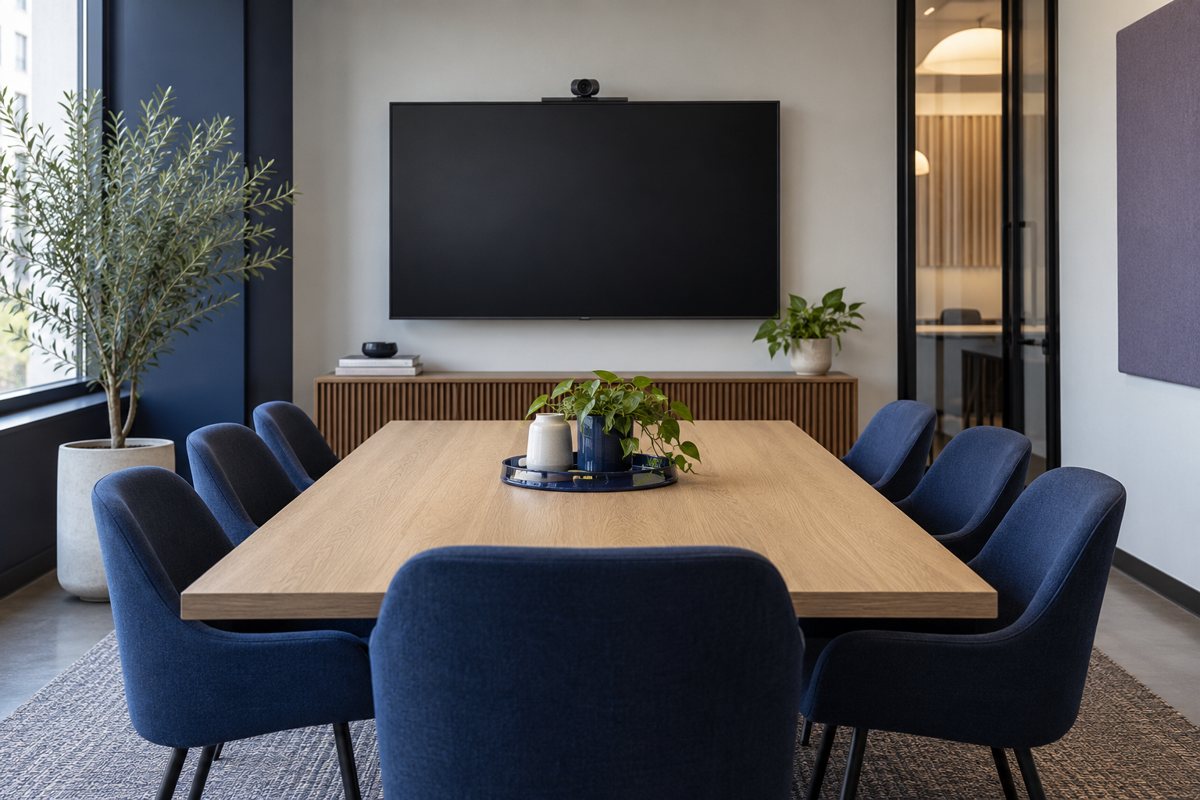
A camera preview can look acceptable from the host's seat while hiding people at the edge of the table or making a shared document unreadable. Check the room from the remote participant's perspective and under the lighting conditions in which meetings actually occur.
This guide concerns ordinary positioning and user-level checks. Mounting, electrical work, specialist audiovisual design, and accessibility accommodations need the appropriate responsible people. Start with the meeting-room readiness brief so the test reflects the room's intended use rather than an attractive empty-room photograph.
Define what remote participants need to see
Decide whether the room is intended for seated discussion, a standing presenter, or showing a physical object. List which seats and presentation positions must remain in view. The answer shapes the camera test more than a resolution number does.
Ask a colleague outside the room to join a test meeting. Seat volunteers in the intended positions and have them speak or gesture normally. Check whether the remote participant can identify who is talking and whether people disappear behind the display, furniture, or another participant.
Microsoft's meeting-room planning guidance discusses the relationship among room layout, cameras, displays, and lighting. Use it as context for the system you are evaluating, not as proof that a particular camera will suit your room.
Compare normal lighting conditions
Test with the usual room lights on. If windows affect the space, repeat the check at a relevant time of day or explicitly record that the daylight condition remains untested. Look for faces that become silhouettes, strong reflections on glasses, glare on the display, and seats that are noticeably darker than others.
Adjust ordinary blinds or approved room lighting one change at a time. Do not introduce a new lamp or electrical arrangement without checking the room's facilities requirements. A camera's automatic exposure may respond differently when a person moves or a bright window enters the frame, so observe a short conversation rather than one still image.
Record the conditions:
- Time of day and whether daylight was present
- Blinds or shades position
- Normal overhead lights and any approved additional lighting
- Camera location and the seating arrangement
- Positions that were difficult to see and what changed the result
The record makes later complaints easier to reproduce. “It looked good yesterday” is not a meaningful comparison if the room was tested after sunset and used in direct morning light.
Check display readability separately
Use a dummy slide and a representative spreadsheet with invented values. Ask someone in the farthest intended seat to read ordinary text, then ask the remote tester to do the same. The room display and shared content are different views; each needs to pass.
Avoid solving a readability problem by simply enlarging every item in an important live presentation. First establish whether the intended display arrangement, content format, and sharing method support the task. A dense document may need advance distribution or a different presentation format even when the equipment works correctly.
Verify the actual camera selection
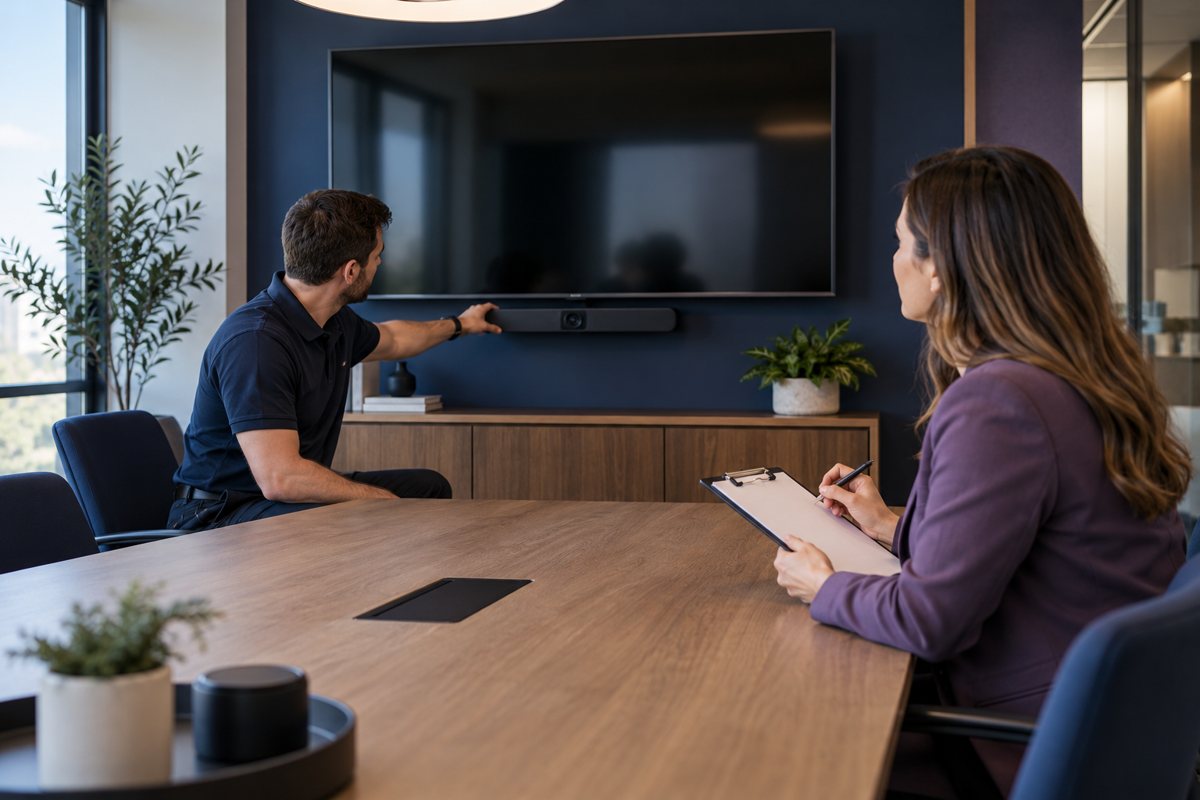
Hosts may accidentally use the laptop camera while believing they are using the room camera. Check the selected device and ask the remote tester to confirm its viewpoint. Microsoft's video guidance for Teams describes the application's video controls; labels and available features can vary with the client and configuration.
If automatic framing is enabled in the approved system, test a person moving between the expected positions. Record any exclusion or distracting behavior for the support team. Do not promise a particular automated feature based on an image on a vendor's website.
Make the result actionable
Write down which positions and conditions passed. If one seat is unsuitable, decide whether to alter the room arrangement or investigate the equipment, and tell users the interim limitation. If the room is used for a task outside the original brief, update the brief before calling the original test a failure.
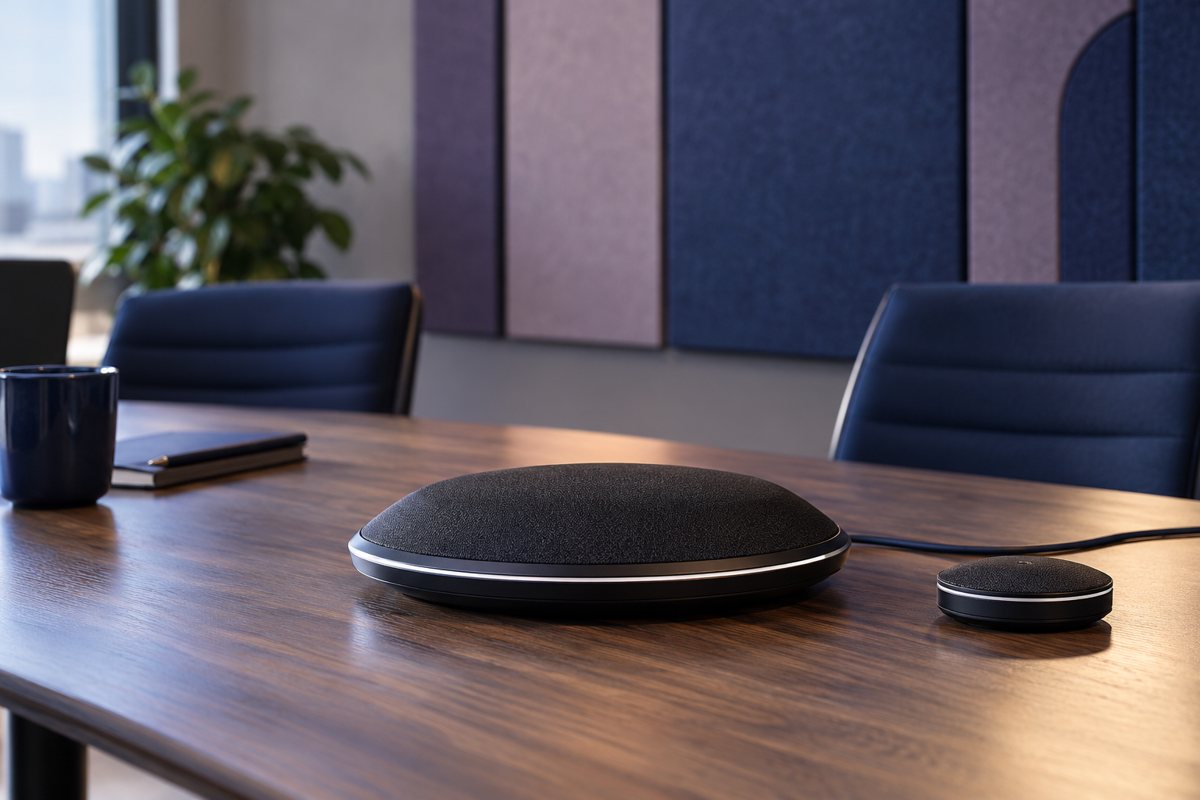
Add the findings to the room acceptance record. Then pair the visual checks with the audio test: being visible does not mean being understood. Your handover should describe the supported meeting experience, not just the camera that was installed.
Editorial review: October 17, 2026. Images are original AI-generated illustrations. Check current product documentation and your approved room configuration before changing settings.