
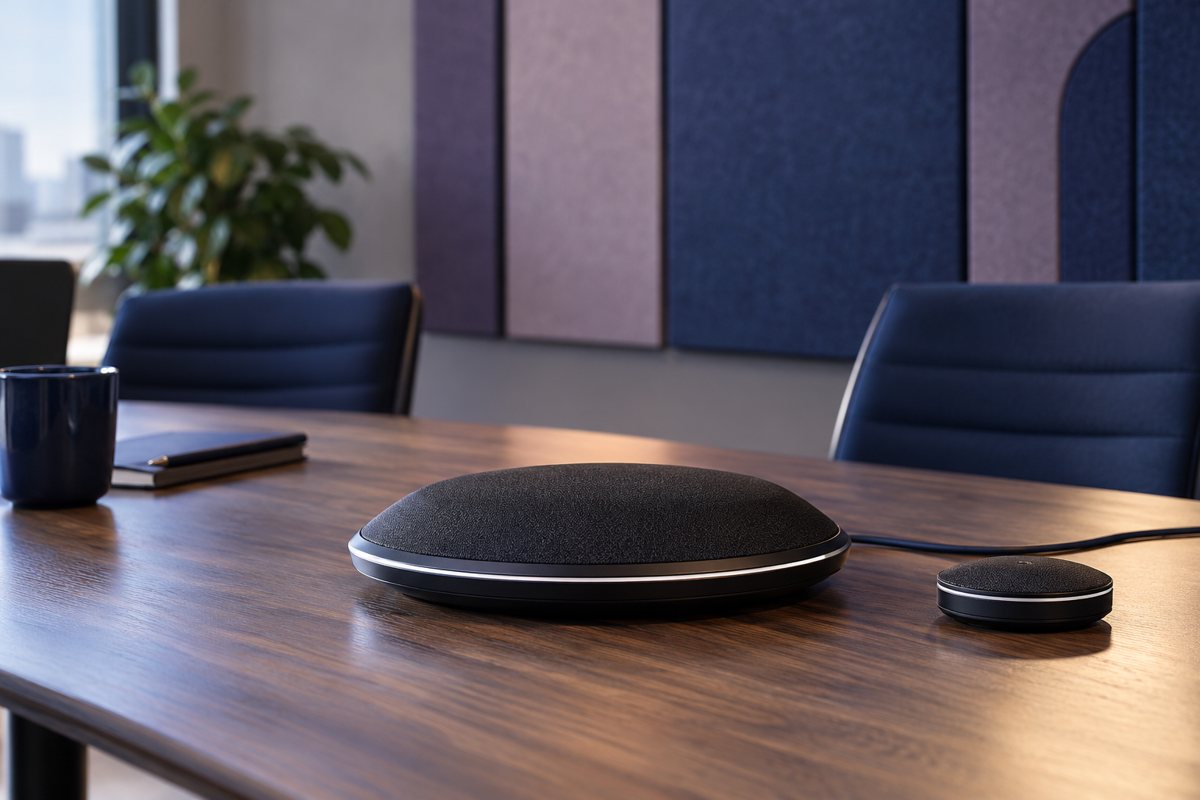
The useful question in a meeting-room audio test is not “does the microphone turn on?” It is whether someone outside the room can follow ordinary speech from the seats you intend to use. Test the complete conversation path, including playback into the room, before changing equipment or increasing volume.
This is a practical user-level test for an approved room setup. It does not require disabling security controls, changing network rules, or modifying specialist audio processing. Escalate installation and configuration changes to the responsible support team.
Establish one known audio path
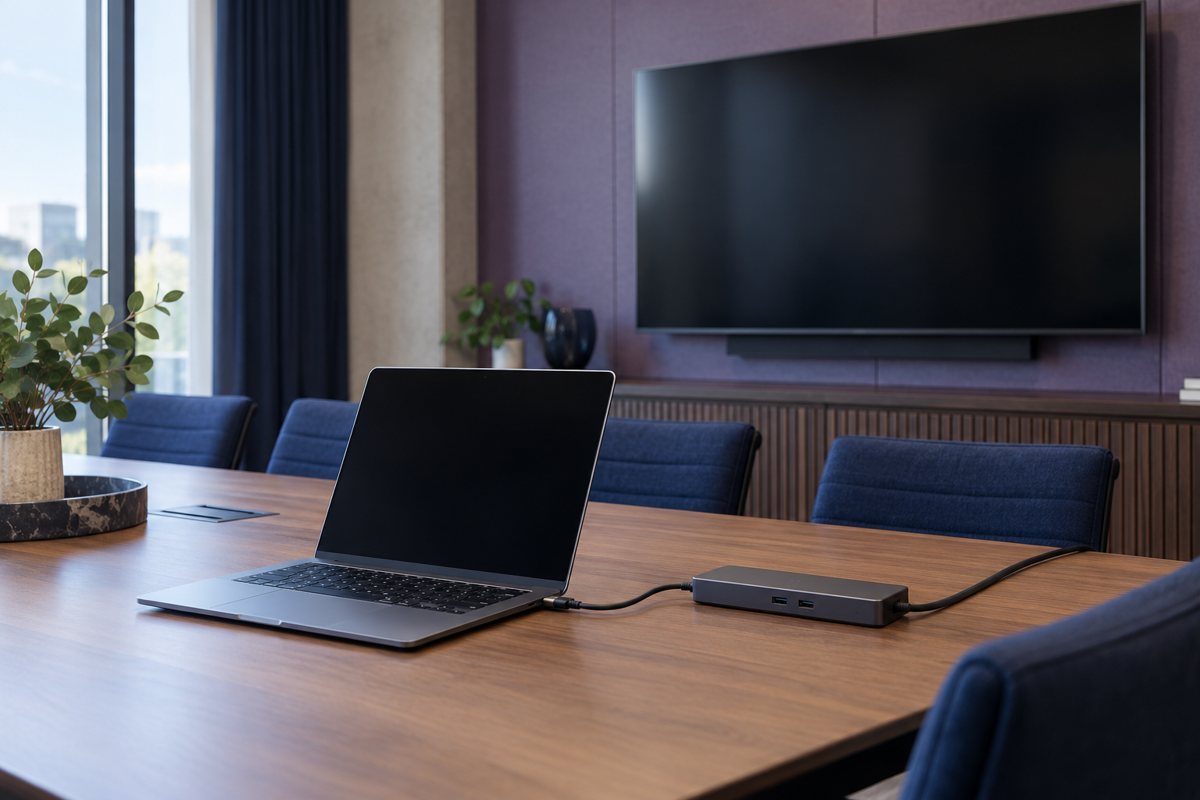
Start with the expected room microphone and speaker selected in the meeting application. Record their displayed names. A laptop may retain a different device choice from its previous meeting, so the physical presence of a speakerphone is not enough.
In Teams, Microsoft's device-settings guidance explains selecting audio devices and making a test call where available. A test call is a useful first check, but it does not replace a colleague listening from outside the room.
Have other people in the same room join without an additional active microphone and speaker path. Microsoft's computer-sound sharing guidance warns about echo when multiple devices provide room audio. Do not interpret a local mute indicator on one application as proof every nearby device is silent.
Test seats, not just the table center
Ask a remote colleague to listen through their ordinary working headset. Use a non-confidential sentence at normal speaking volume from each intended seat. Include the far end of the table and a seat beside the window or ventilation source.
For each position, record:
- Whether every word was understandable without repetition
- Whether the voice level changed noticeably between seats
- Whether the first words or quiet endings disappeared
- Whether normal background noise competed with speech
- Whether the remote listener heard an echo of their own voice
Label observations with the seat and test conditions. “Far seat unclear while ventilation runs” gives the support team a more useful starting point than “bad microphone.” Avoid recording the call unless the organization has approved that recording and participants know about it.
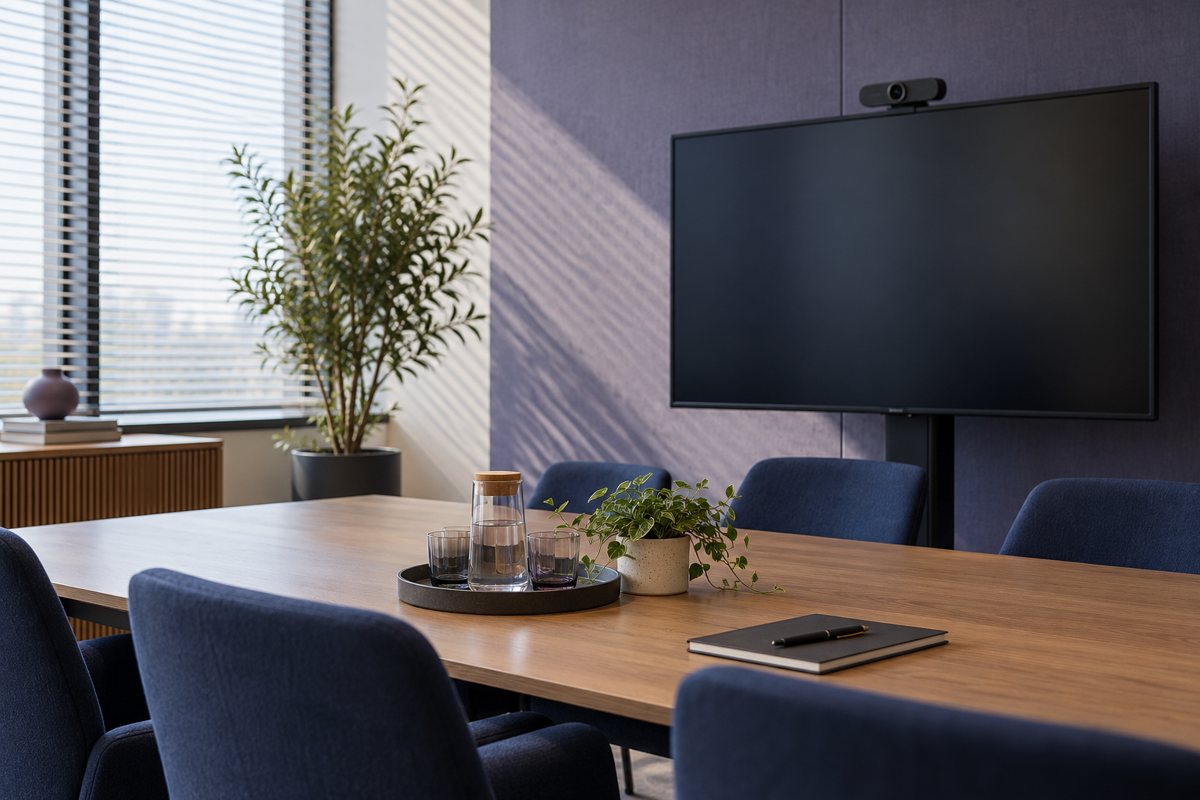
Include realistic conversation
After single-speaker checks, have two people take turns naturally. Let the remote tester interrupt with a question. Then test a short exchange where one participant begins speaking before another has completely finished.
The purpose is to observe intelligibility, not to stress equipment with shouting or loud tones. If discussion becomes difficult when people overlap, record it as a meeting limitation and ask the support team to assess the cause. Turning everything louder can make the experience worse rather than better.
Separate speech from shared computer sound
A successful spoken conversation does not prove that a video clip will reach remote participants. Use an approved dummy clip if playing media is part of the room's normal work. Ask both the room and remote tester whether its sound is audible at a comfortable level.
Check the application's current content-sharing instructions for the actual host platform. The host startup guide includes this as a separate test. Before sharing system audio, close unnecessary applications and consider notifications; the remote audience may hear more than the intended clip.

Change one variable at a time
If the test fails, first record the selected devices and connections. Then make one supported user-level change, such as choosing the intended microphone, and repeat the same short test. Do not swap a cable, move the speakerphone, change the application, and change the network simultaneously; a good result would leave the cause unknown.
Use the connection checklist when a peripheral disappears or changes after reconnecting. For distant speech and room noise, share the seat observations with the person responsible for acoustics or equipment coverage rather than assuming a software setting will solve it.
Turn the result into a useful handover
Record the date, host device, application, audio device names, room arrangement, and unresolved limitations. Give each failed condition an owner and a next test. Store the record with the room readiness brief so later troubleshooting starts from an agreed baseline.
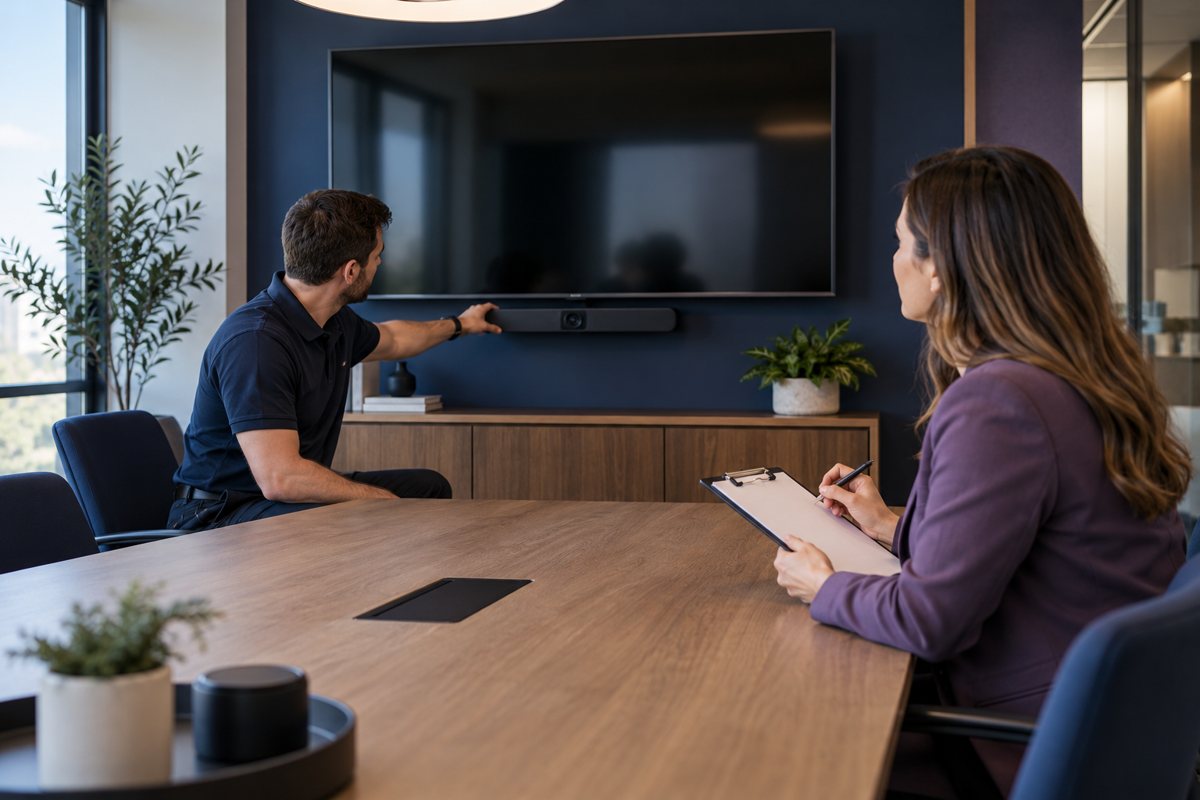
A room can be accepted for a limited use while another remains unsupported, provided users are told clearly. For example, a team might approve seated conversation but postpone a standing training format until coverage is demonstrated. Record that decision in the acceptance checklist, rather than describing the room as universally ready.
Editorial review: October 17, 2026. Images are original AI-generated illustrations. Check current product documentation and your approved room configuration before changing settings.