
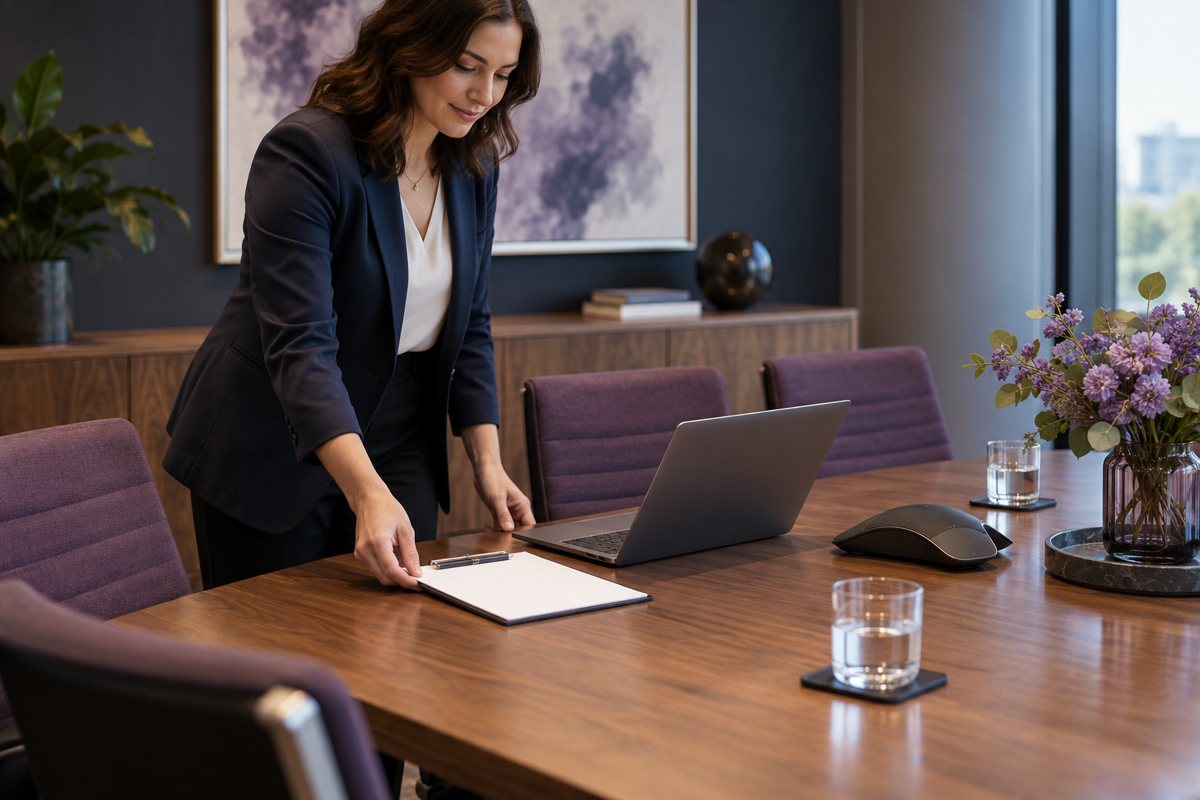
The person hosting a meeting should not have to remember which cable works, which microphone to select, or whom to call when the display is blank. A short room-specific startup card turns a working installation into a repeatable experience.
Write the card for the least frequent authorized user of the room. Keep administrator instructions in the support documentation, not on the table. This guide is part of the meeting-room readiness plan and assumes that the approved hardware and account arrangements are already in place.
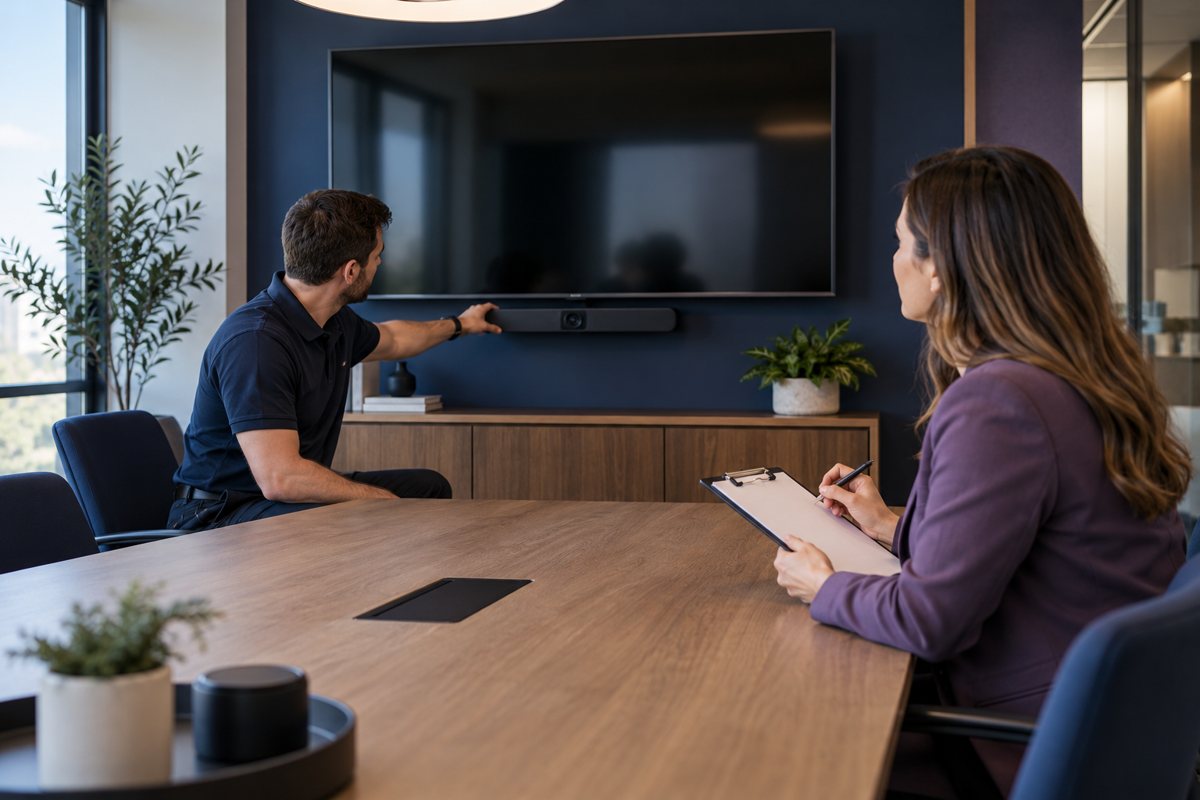
Establish the room's normal joining method
State whether the host joins from their own managed laptop or uses a dedicated room system. Name the ordinary cable or console action in plain language. If both methods are supported, separate them into clearly labeled paths so users do not combine their audio unintentionally.
Dedicated Teams Rooms setups have product-specific configuration and licensing requirements. Refer setup questions to IT and the current Microsoft planning documentation. Do not put a shared personal-account password on the room card or assume that a generic shared PC is equivalent to an approved room system.
Test the card with someone who did not write it. Watch where they hesitate without coaching them through every step. Their confusion identifies missing instructions more reliably than the installer's confidence does.
Use a brief pre-meeting check
Before participants arrive, the host should verify the essentials against the room's actual equipment:
- Connect using the approved room connection or start the supported room system.
- Confirm the intended camera, microphone, and speaker are selected.
- Check the camera view and remove sensitive material from the background.
- Open only the documents or applications needed for the meeting.
- Test the planned sharing method with non-confidential material.
- Know the fallback and the support contact before the meeting starts.
Microsoft's device-settings instructions can help Teams users locate their selected devices. Keep your printed card focused on your supported setup rather than copying a long menu walkthrough that may change.
Confirm sharing with someone outside the room
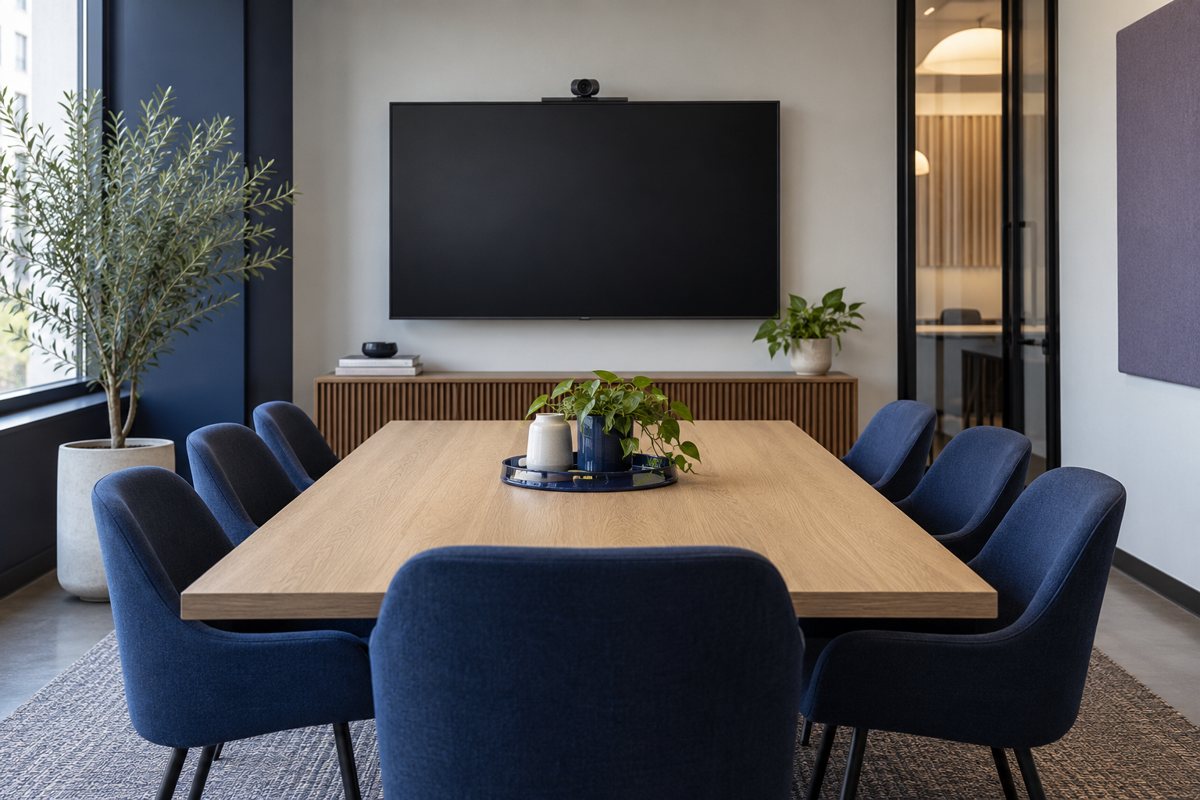
Seeing a document on the wall display does not prove it is shared to the online audience. Ask a remote participant to confirm a harmless detail on the intended page. Use a window rather than the whole desktop when that meets the task, and check that switching applications will not expose unrelated material.
If the presentation includes sound, test that separately. Microsoft's sound-sharing guidance explains that sharing system audio can include notifications. Close unrelated applications and use the supported sharing settings for your host device. Do not assume a cable carrying a picture also carries the intended audio to remote attendees.
Give a simple recovery path
Choose an approved fallback appropriate to the meeting. It might be moving to a tested room or continuing from a managed laptop with a headset. It should not involve bypassing account restrictions, downloading an unknown tool, or asking everyone to share passwords.
Write down when the host should stop troubleshooting and use the fallback. The decision belongs to the organization; a short internal discussion and a confidential customer presentation may need different responses. Keep the support contact and room identifier visible without displaying private account information.
End the meeting as deliberately as it began
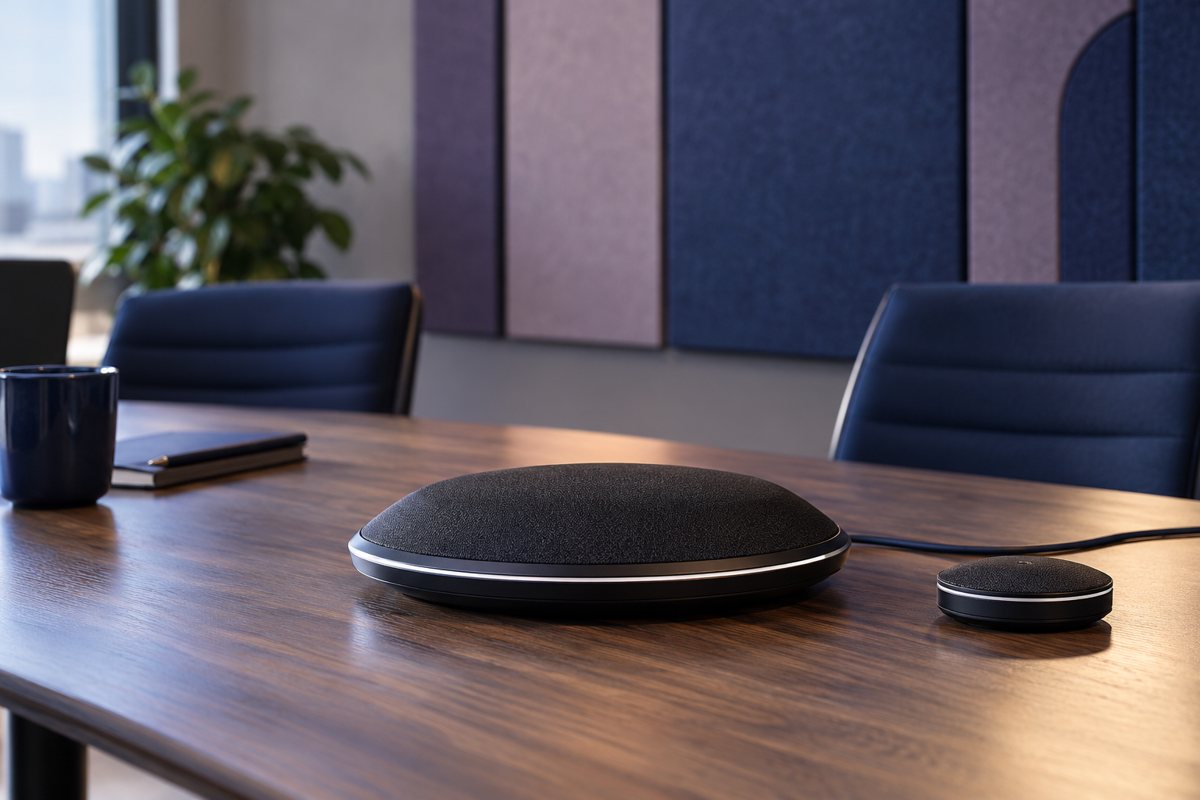
Stop sharing, leave the meeting, disconnect the personal host device, and return the room to its documented ready state. Follow your organization's approved sign-out procedure for any shared system. Remove personal documents and do not leave a private meeting or screen visible for the next group.
Check that portable cables and peripherals remain with the room. Report damage or missing items through the agreed route instead of silently replacing them with untested accessories. The USB-C connection checklist explains why visually similar cables may behave differently.
Keep the card current and short
Assign an owner to update the instructions after a supported configuration change. Include a revision date and keep the detailed troubleshooting record elsewhere. Test the revised card with another ordinary host, including the end-of-meeting steps.
The acceptance and handover checklist should include this unassisted user test. If a successful meeting still depends on the installer standing beside the table, handover is unfinished even when every component powers on.
Editorial review: October 17, 2026. Images are original AI-generated illustrations. Check current product documentation and your approved room configuration before changing settings.